对接 PipeCD
本文将引导你了解如何使用 PipeCD 和 Karmada 来管理跨集群工作负载。
前提条件
安装 PipeCD
在本示例中,你可以按照 Quickstart 的说明来安装 PipeCD。
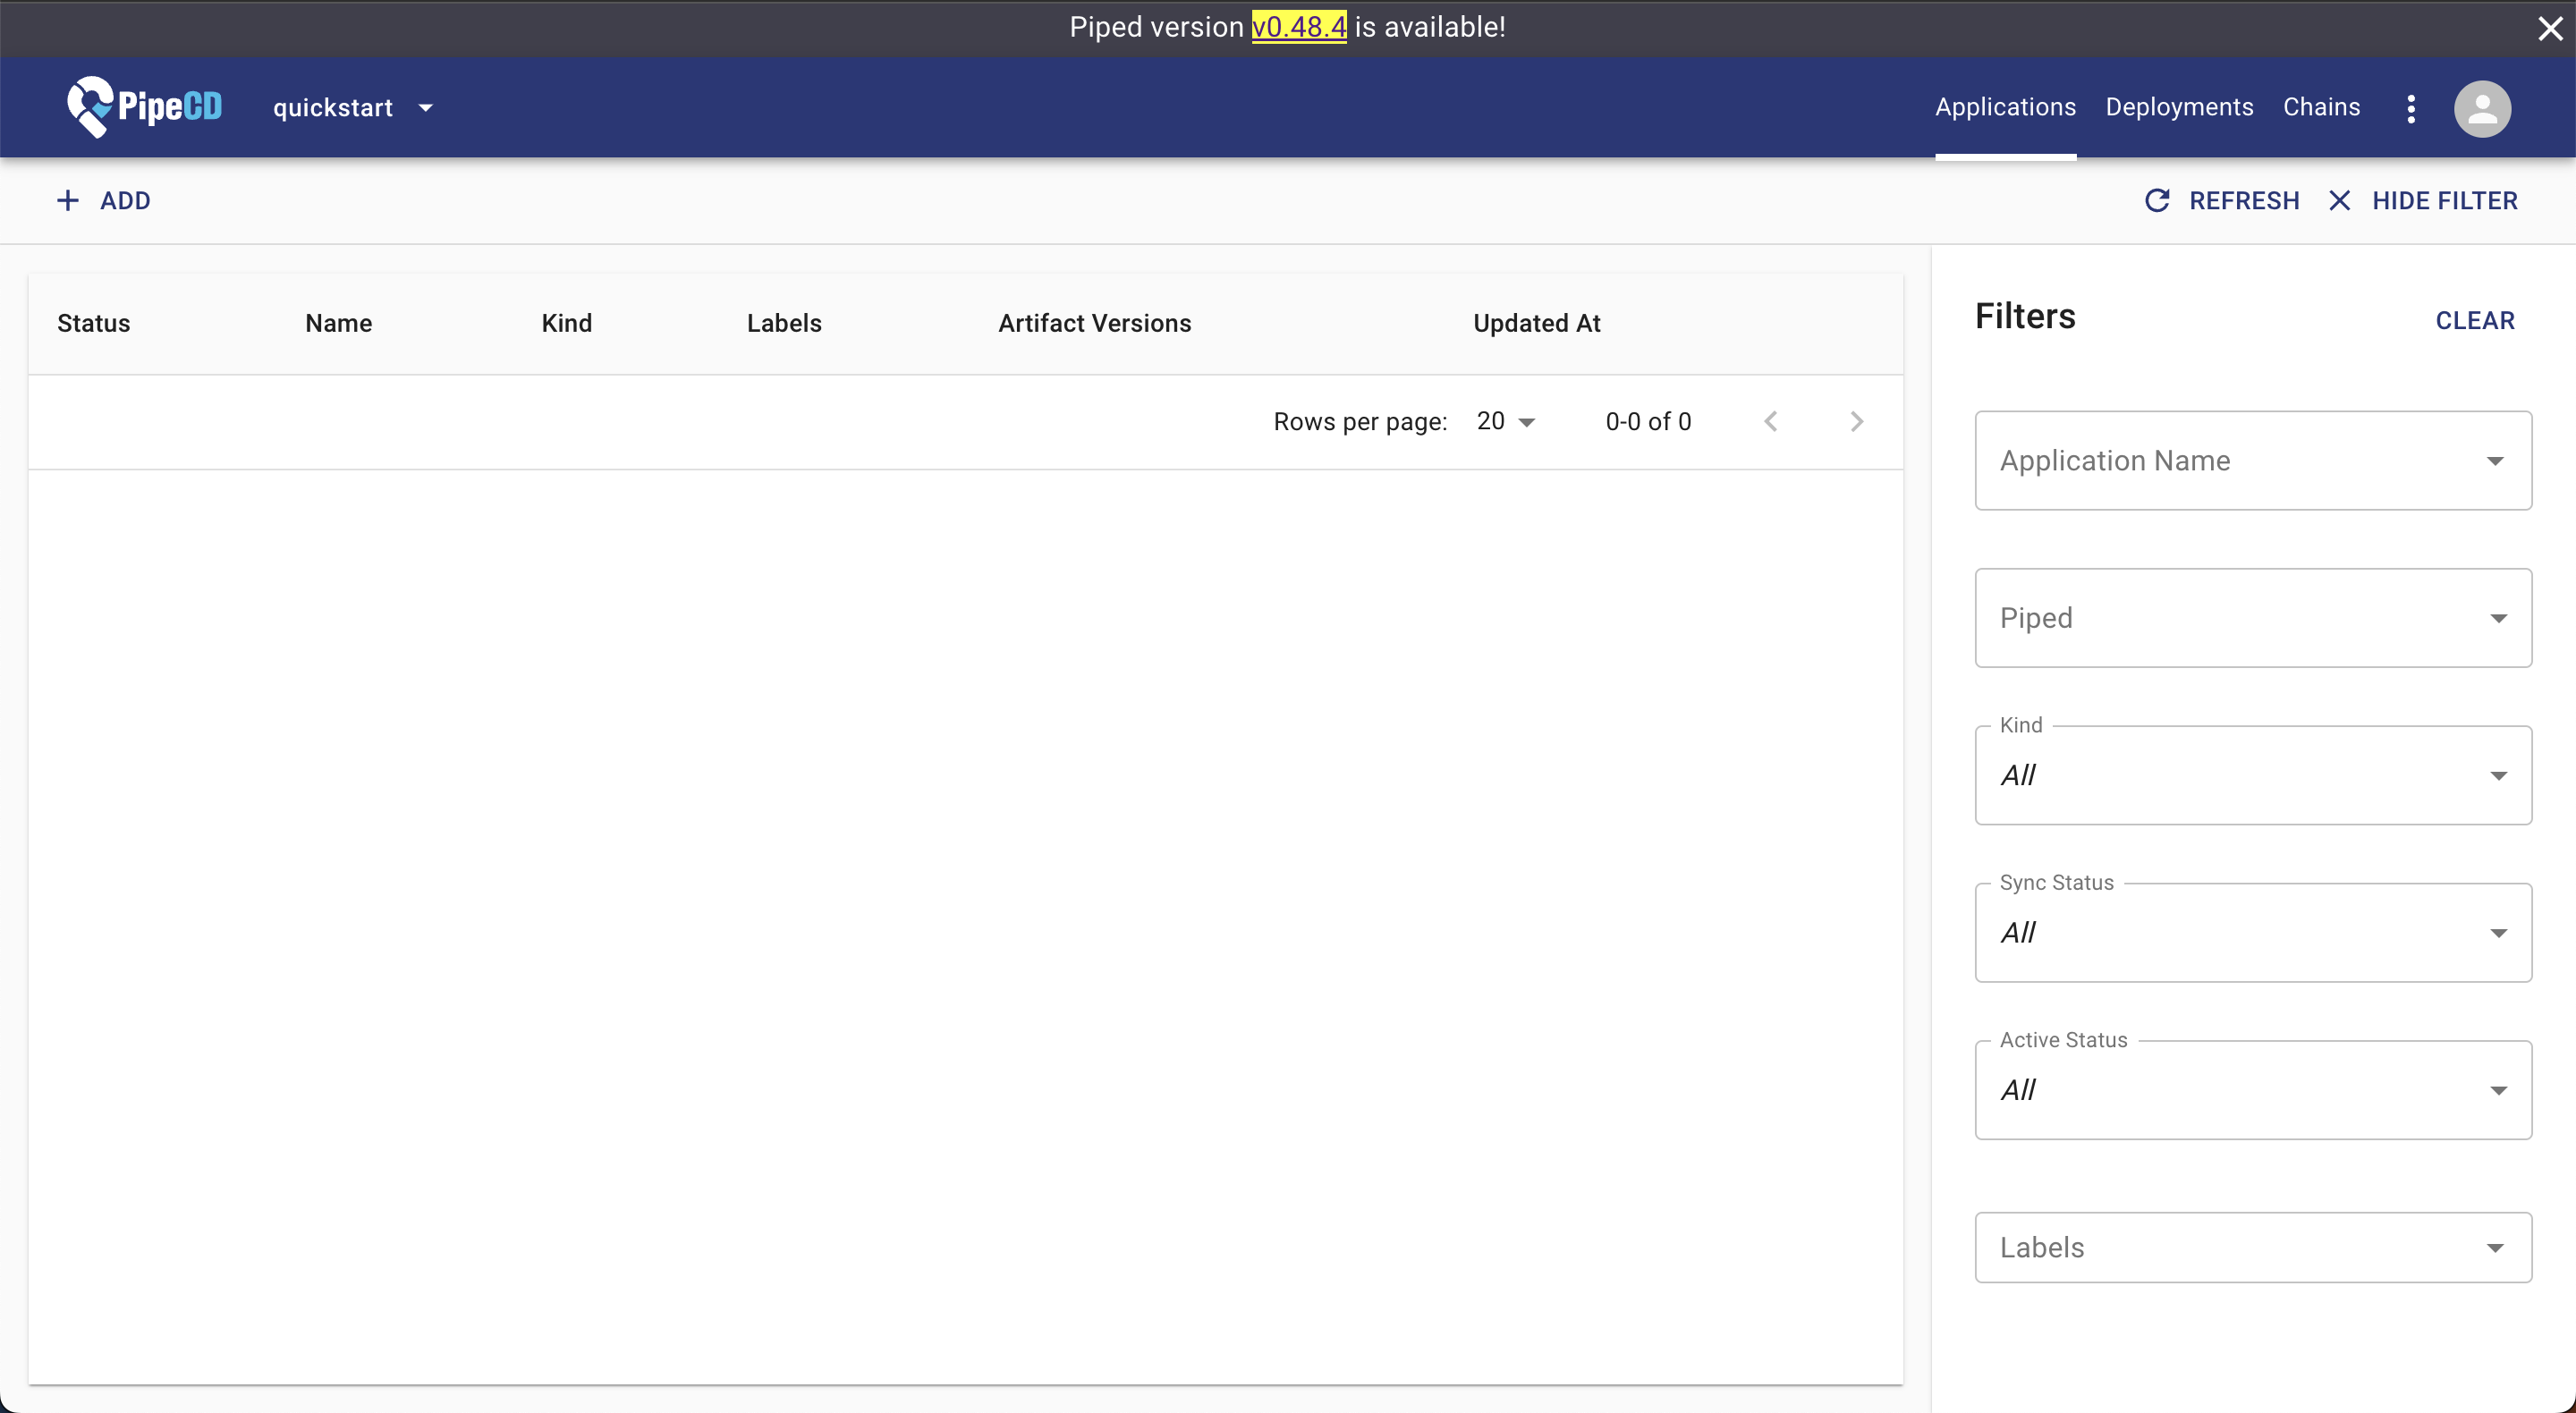
你可以访问 localhost:8080,登录后会看到以下 UI 界面,确认 PipeCD 已准备就绪。
安装 Karmada
在本示例中,我们使用一个至少有 3 个成员集群已加入的 Karmada 环境。
你可以通过 hack/local-up-karmada.sh 脚本来搭建 Karmada 环境,该脚本也用于运行我们的 E2E 测试用例。
$ kubectl get clusters
NAME      VERSION   MODE   READY   AGE
member1   v1.19.1   Push   True    18h
member2   v1.19.1   Push   True    18h
member3   v1.19.1   Pull   True    17h
安装并配置 PipeCD agent (piped) 以对接 Karmada
此步骤将安装 PipeCD agent piped,并将其配置为连接 Karmada API server。
在本示例中,为简单起见,我们遵循 在单台机器上安装 piped 的说明。piped 将安装在你的本地机器上,并使用 karmada-apiserver 上下文来连接 Karmada 控制平面。
从浏览器访问 localhost:8080/settings/piped?project=quickstart,并为新的 piped 注册信息。
按如下所示准备 piped 配置 yaml,并将其另存为 piped-config.yaml。
apiVersion: pipecd.dev/v1beta1
kind: Piped
spec:
  projectID: quickstart
  pipedID: <YOUR_PIPED_ID>
  pipedKeyData: <YOUR_PIPED_KEY_DATA>
  apiAddress: localhost:8080
  syncInterval: 1m
  repositories:
    - repoId: examples
      remote: <YOUR_MANIFEST_REPO_URL>
      branch: master
  platformProviders:
    - name: karmada-dev
      type: KUBERNETES
      config:
        kubeConfigPath: $HOME/.kube/karmada.config
        appStateInformer:
          includeResources:
            - apiVersion: policy.karmada.io/v1alpha1
              kind: PropagationPolicy
            - apiVersion: work.karmada.io/v1alpha2
              kind: ResourceBinding
            - apiVersion: work.karmada.io/v1alpha1
              kind: Work
关于 <YOUR_PIPED_ID> 和 <YOUR_PIPED_KEY_DATA>,请参阅安装 piped 文档。
对于 <YOUR_MANIFEST_REPO_URL>,你可以对 PipeCD 示例仓库 执行Fork 操作。
接下来,从 PipeCD 官方 GitHub 仓库下载 piped 二进制文件。
# OS="darwin" or "linux"
$ curl -Lo ./piped https://github.com/pipe-cd/pipecd/releases/download/v0.48.8/piped_v0.48.8_{OS}_amd64
$ chmod +x piped
然后,你就可以在你的机器上运行 piped agent,它将连接到 PipeCD 控制平面仪表板,并将你的应用交付到 Karmada 集群。
$ ./piped piped --config-file=piped-config.yaml --insecure=true
注意:--insecure=true 是必需的,因为在快速入门模式下,我们连接到 PipeCD 控制平面时没有使用 SSL。
一旦你的 piped 准备就绪,你可以在 localhost:8080/settings/piped?project=quickstart 页面看到其状态,如下所示:

通过 UI 创建应用
准备应用
在上一步中,假设你已经在 <YOUR_MANIFEST_REPO_URL> 下准备了一个 manifest 仓库。
接下来,你需要准备一个包含应用程序 manifest 的目录,例如这个 canary-multicluster-karmada 目录。
该目录包括:
app.pipecd.yaml: piped 用于执行部署任务的配置propagationpolicy.yaml: Karmada 用于将你的应用资源交付到成员集群的配置deployment and service: 原始的 Kubernetes manifest
创建应用
访问 localhost:8080/applications?project=quickstart 来创建一个新应用。
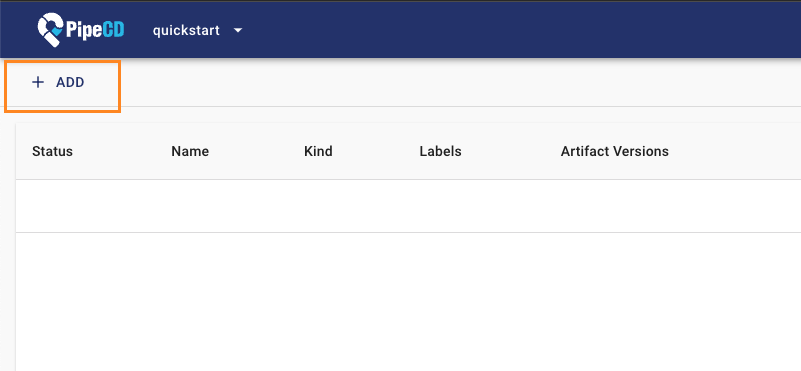
点击 +ADD 按钮,如下所示:
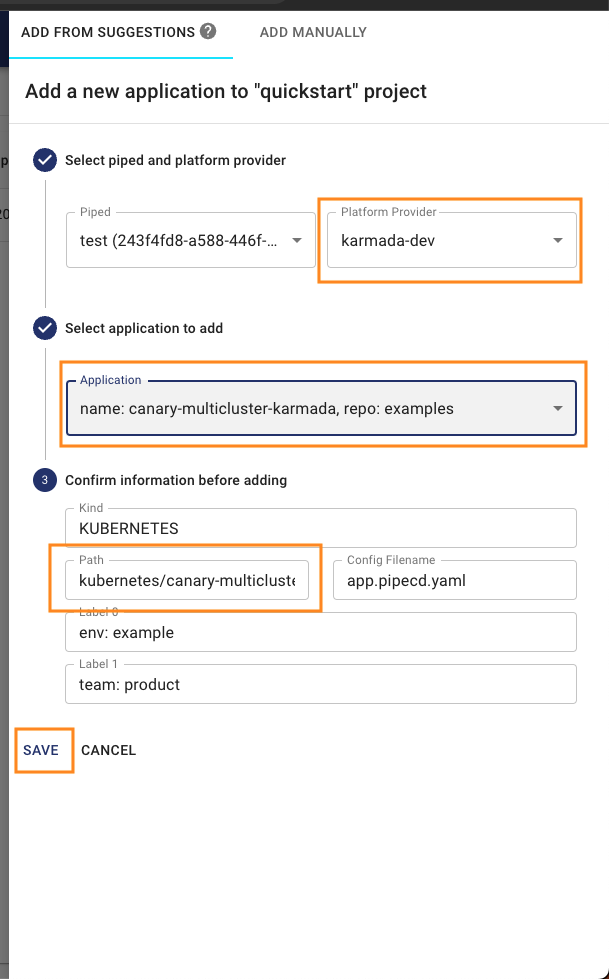
在 ADD FROM SUGGESTIONS 表单中,从选择框中选择值以注册你的应用信息,如图所示:
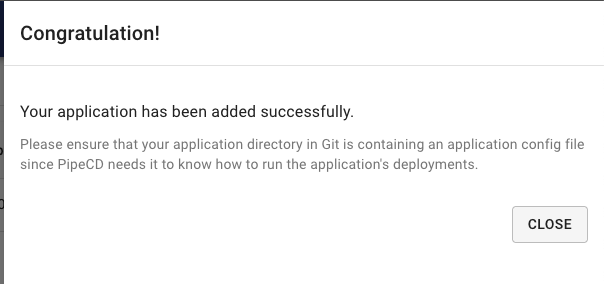
在表单和确认框中点击 SAVE,你的应用将被成功注册并准备就绪。
同步应用
你无需执行任何操作!注册应用后,PipeCD 将在快速同步策略下自动触发其首次部署(有关 PipeCD 同步策略的更多信息,请参阅文档)。

你可以通过访问 localhost:8080/deployments?project=quickstart 查看部署的详细日志,然后导航到你的应用部署详情页。
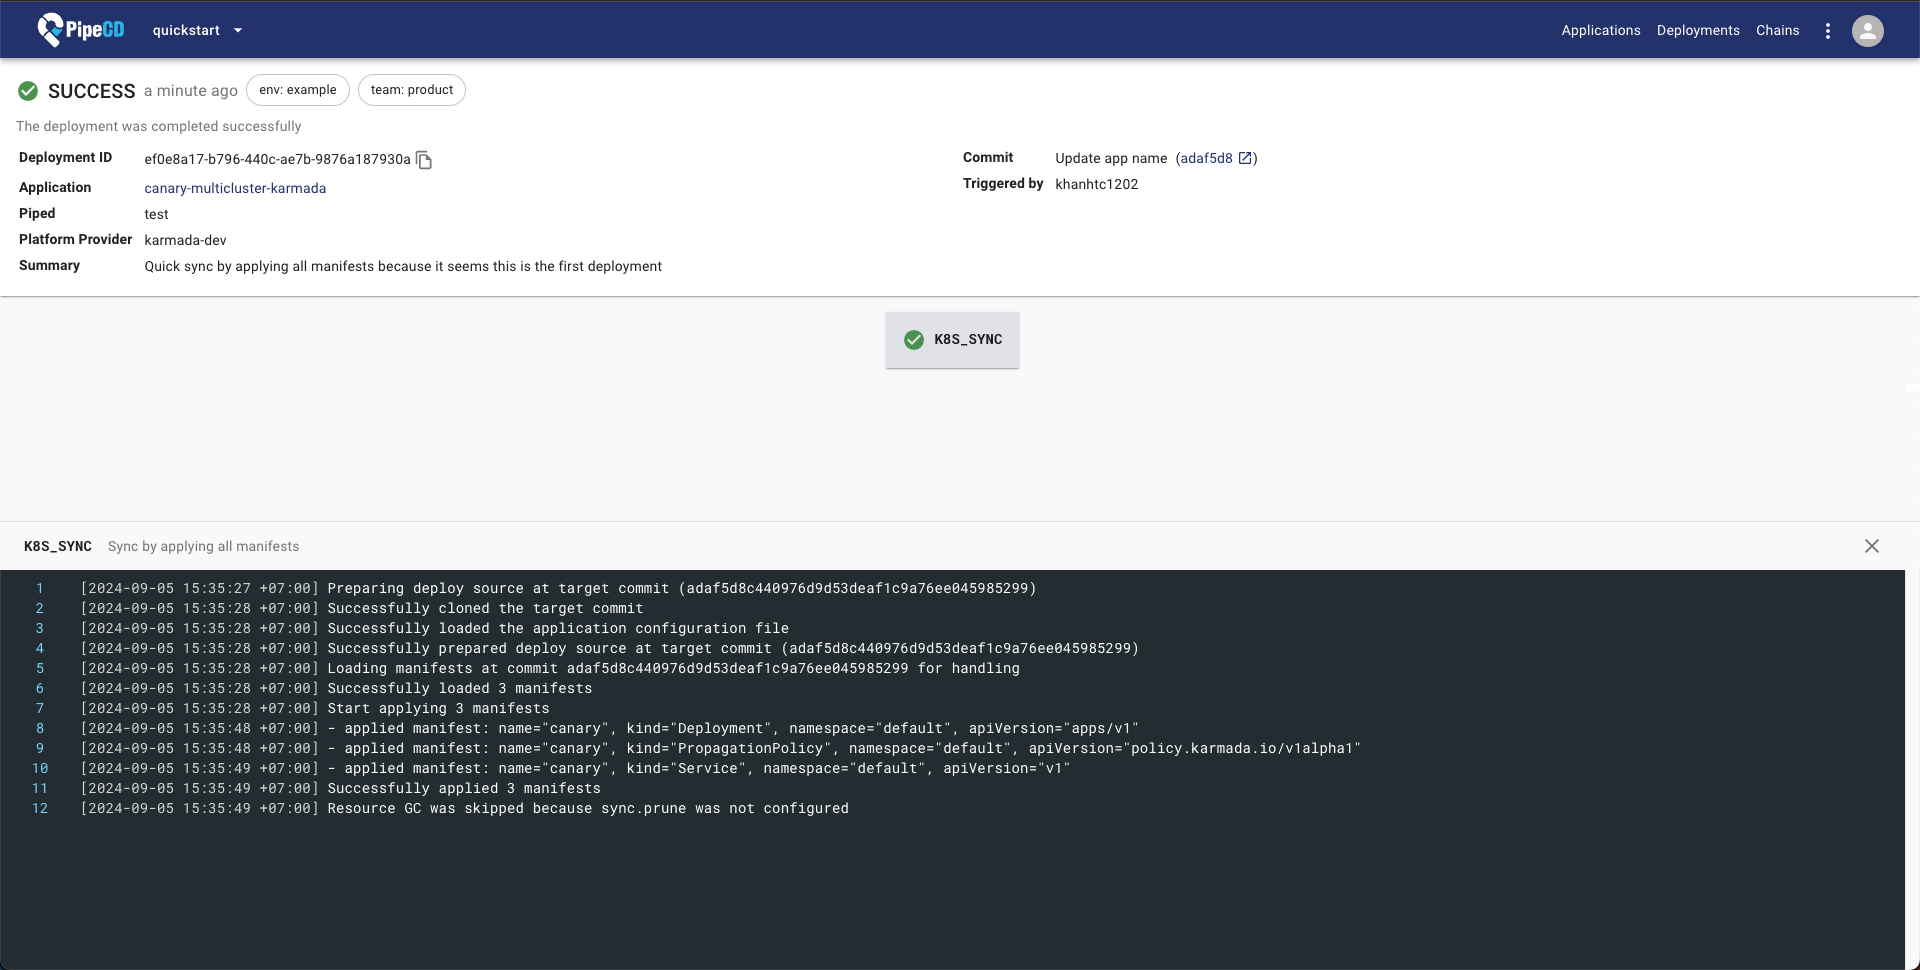
PipeCD 支持多种方式来触发应用的新部署,请参阅触发部署文档。
查看详细状态
通过 PipeCD 控制平面应用详情页,你可以查看应用资源的状态。
访问 localhost:8080/applications?project=quickstart 并导航到你的应用页面查看详情。
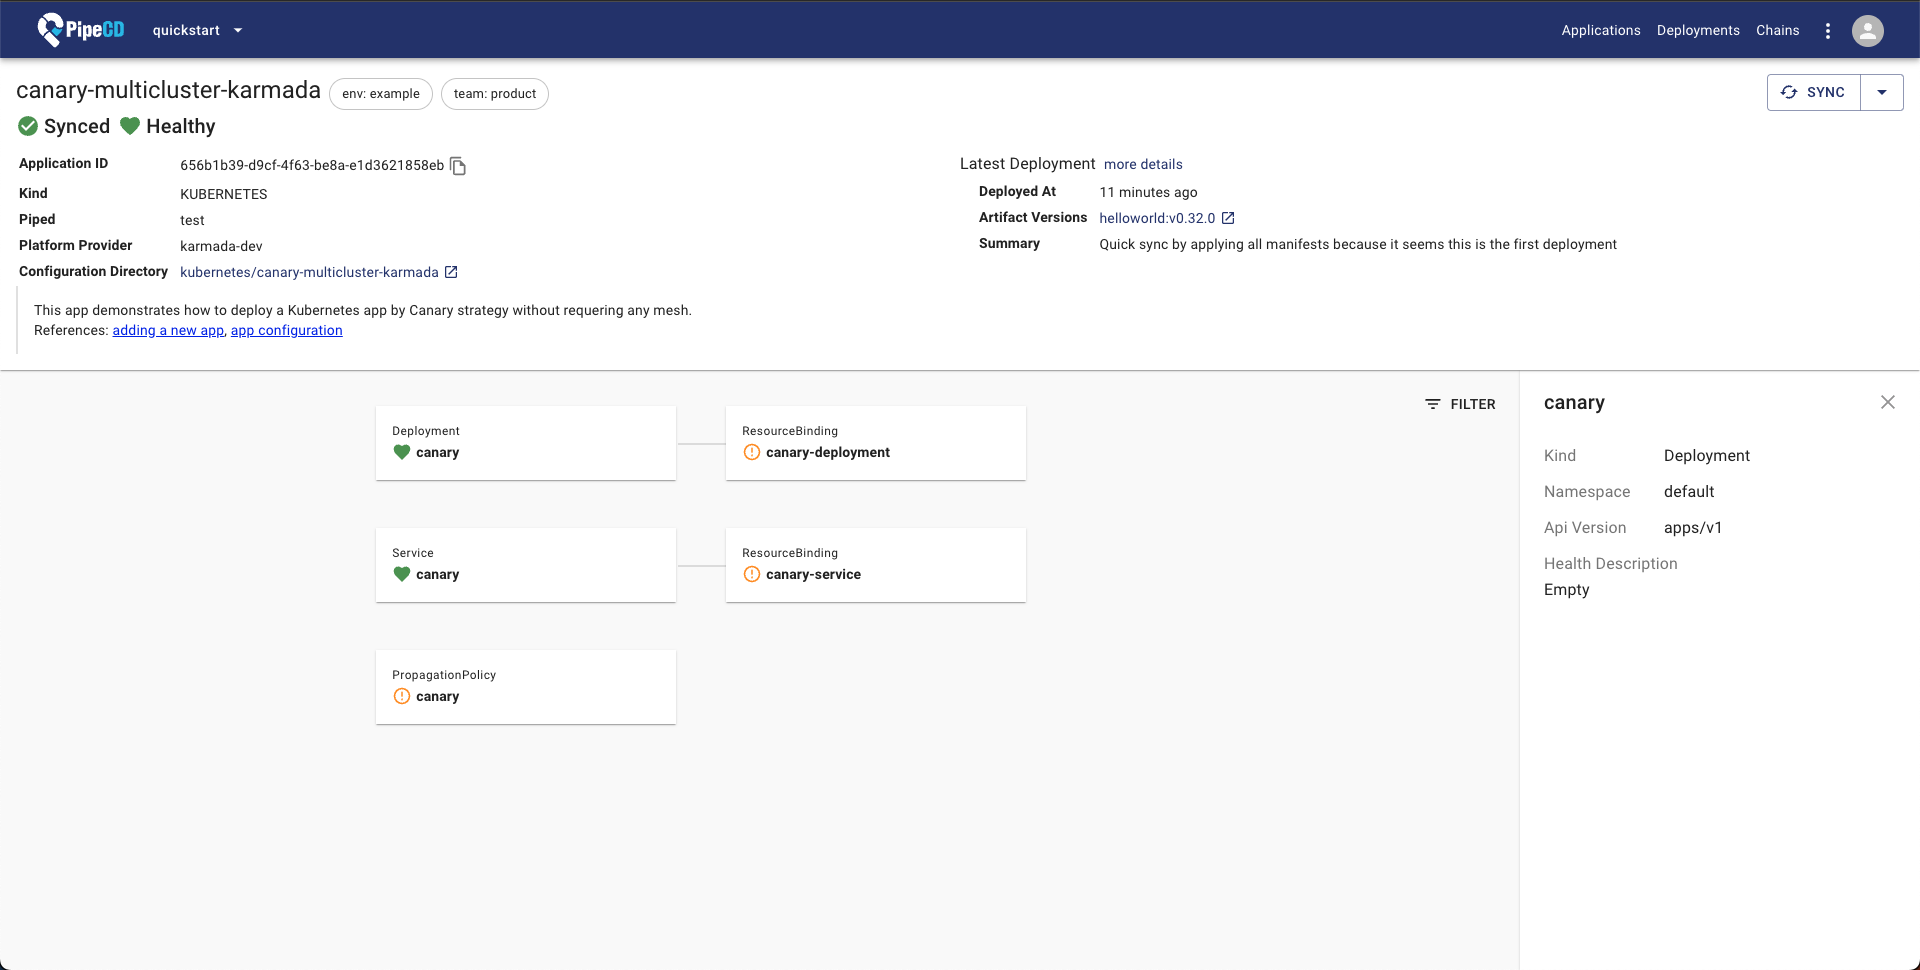
就这些了!